Creativity Month 2019

Creativity Month 2019

Did you know January is officially Creativity Month? Indeed, it is!

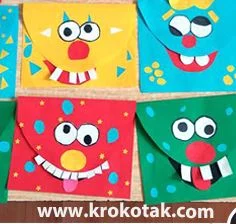
If you need inspiration and ideas for creative things to do with grandkids before the month is through, let me point you to the most creative spot I know for simple—and different, educational, and fun—activities. Krokotak, a Bulgarian site, has endless ideas for every season… and many for no specific reason other than finding joy in being creative.

Read More

Throwback Thursday: Sponge bombs for summer fun

Throwback Thursday: Sponge bombs for summer fun

This #TBT feature originally published on Grandma's Briefs April 14, 2015—when Brayden was two months away from 7 and Camden soon to turn 4. Thank you for reading my rerun!

Super simple, sloppy, summer fun!

WHAT YOU NEED

  • Basic rectangular household sponges in various colors (two per sponge bomb)

Read More

12 crafts for grandmothers and others

12 crafts for grandmothers and others

My friend Joyce is the most creative and crafty grandma I know. A quick perusal of the colorful and clever posts on her  blog, What Happens at Grandma's, confirms my assertion.

Joyce recently told me she thinks crafts are one of the top things grandmas search for online. Now, I trust Joyce's instincts, hence fully believe she's right in that grandmas hanker for handicrafts to make themselves or with their grandkids.

So I searched my own site to see what comes up. To my surprise, the result presented more than a few crafts. (After eight-plus years of blogging, it's easy to forget...

Read More

Friday flashback: Tie-dye for tots... and older kids, too

I've been publishing Grandma's Briefs for eight years. Which means I have an archive jam-packed with activities and other grandparenting goodies I posted long ago that deserve to be shared again for those grandmothers and others who may have missed them the first time around.

The following is one of my favorite — most simple and most colorful — crafts I've done with my grandsons. Which is why I've chosen it for my first Friday flashback feature.

Enjoy!

TIE-DYE FOR TOTS... AND OLDER KIDS, TOO
Originally published April 23, 2013

My youngest grandson, Mac, doesn't have the penchant for craft-making that his older brother does. Bubby's attention span can handle a craft that has, say, six or eight steps, knowing there's a grand payoff at the end. Mac, on the other hand — because he's younger and always on the go, go, go — can handle a craft with one quarter that number of steps, and instant payoff of some sort is key.

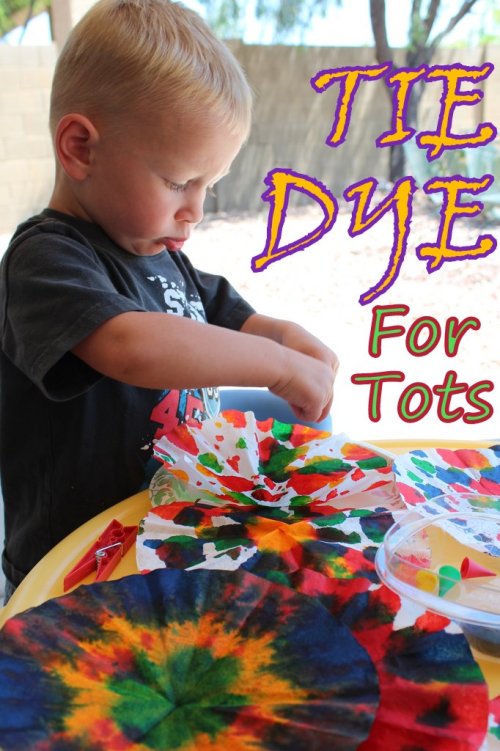
Needless to say (but I'll say it anyway), finding a craft that pleases both can be a challenge. This one, though — a tie-dye project of sorts — was a success. Mac created one or two and was done; Bubby made one after another until the food coloring bottles were nearly empty. Yes, success!
tie-dye-craft-for-kids

What you need:

• Coffee filters

• Food coloring...

Read More

Quick crafts with kids: Simple Halloween skeletons

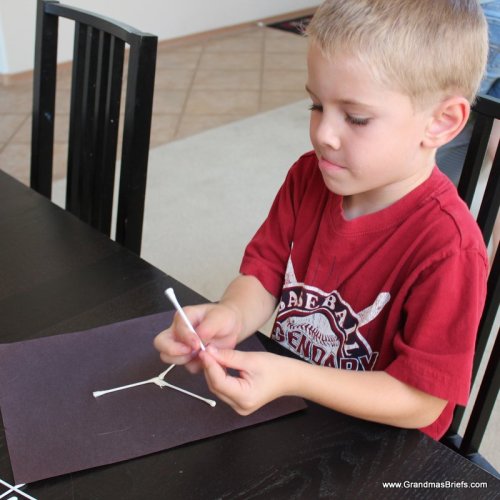
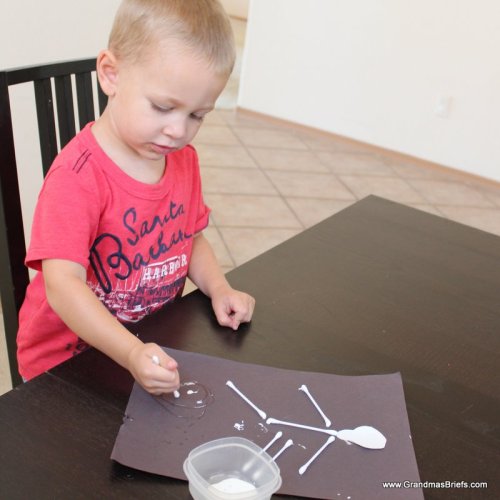
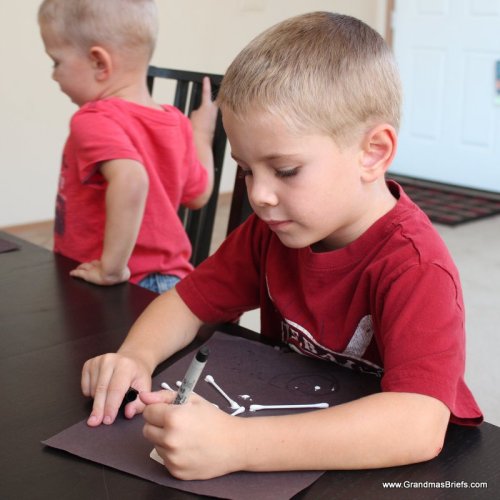
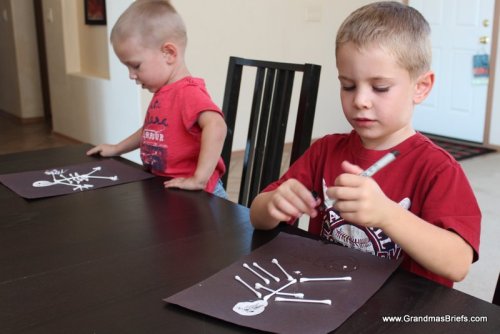
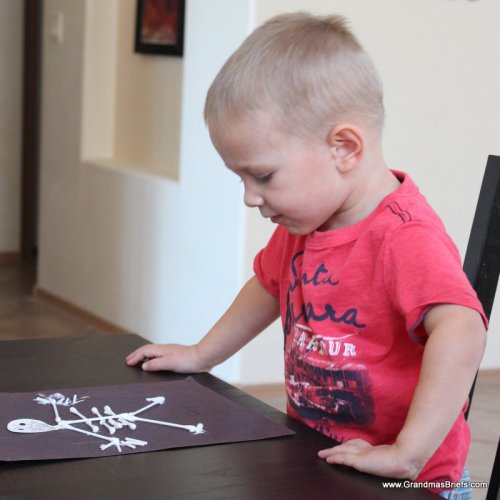
Do you have extra cotton swabs on hand at your house? Those plus some glue and black (or any color) construction paper are pretty much the makings of a super simple skeleton craft for kids of most ages.

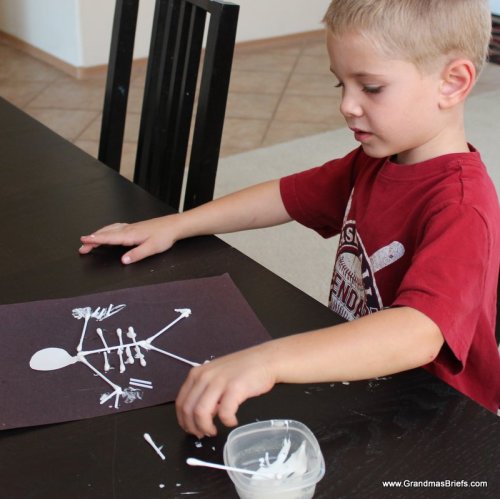
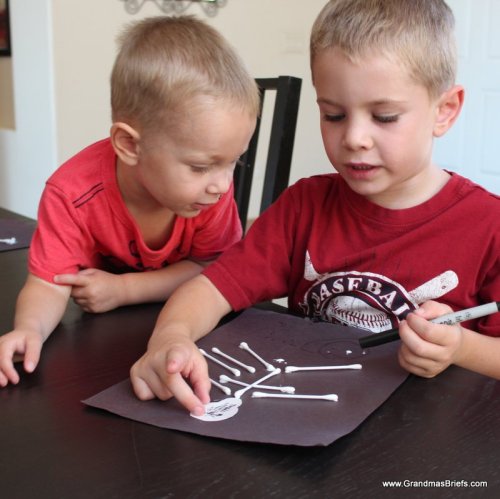
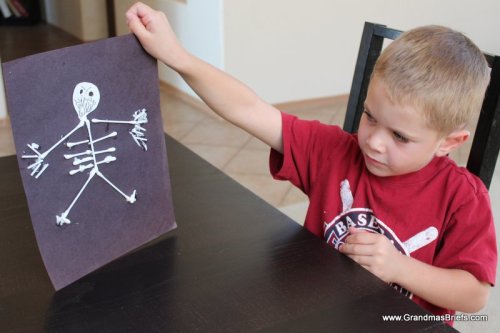
Here's the skinny on the skeletons my grandsons made in less than 20 minutes Saturday morning, inspired by this crafty post from Spoonful.

Halloween skeleton craft

WHAT YOU NEED:

Several cotton swabs

glue (not a glue stick)

 white paper

black construction paper

black marker for drawing skeleton faces

WHAT YOU DO:

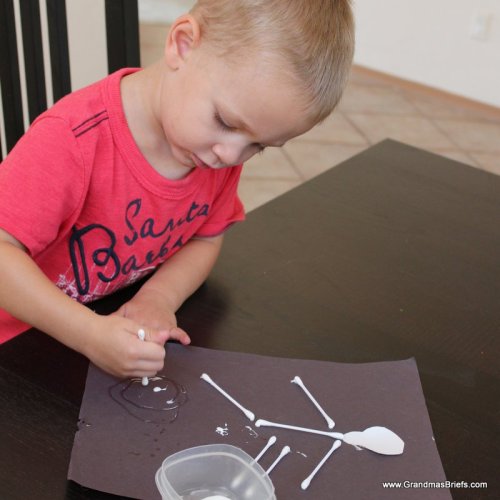
Put some glue in a small container that's easy for the child to dip into with the cotton swabs .

Dip each end of one cotton swab into the glue and place vertically on the black construction paper.

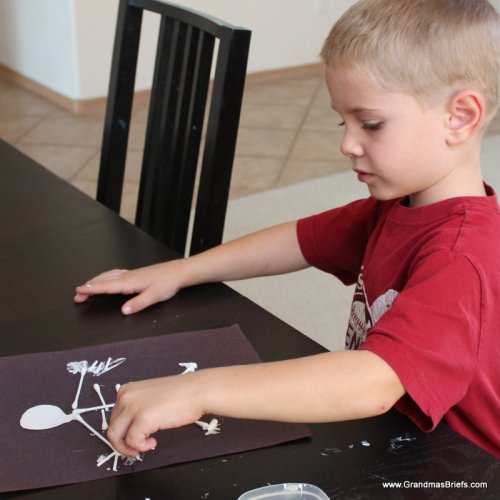
Add more cotton swab bones for legs and arms.

halloween skeletons

(Note: Two swabs per leg and arm make for a more accurate skeleton... ya know, the kind with elbows and knees. But does it matter if Mr. Bones can't bend his arms or legs? Not one bit.)

Don't feel like adding legs or arms? Do whatever you feel like doing... which may be swirling glue in spots around the paper just because it's fun to do when you're two.

halloween skeletons
halloween skeletons

At some point in the process — it doesn't matter the order — freehand draw a skeleton skull on the white paper. Cut out and glue in place.

Cut cotton swabs in half for the rib bones, to be glued horizontally on each side of the first swab placed on the paper.

Cut both ends off one swab for feet. Cut the remaining stick — and another stick — into "fingers" to be glued at the end of each arm.

halloween skeletons
halloween skeleton craft

Use the black marker to draw a spooky or silly face.

halloween skeleton craft

Explain to your brother why you drew the face the way you did.

halloween skeleton craft

Appreciate your work.

halloween craft

Even if it's work Gramma and your brother helped you do.

halloween craft

That's it!

Want another quick and easy Halloween craft? Try these Simple Spooky Spiders Bubby made last Halloween.

Today's question:

What's most prominent in your Halloween decor — skeletons, ghosts, zombies or pumpkins?

Tie-dye for tots... and older kids, too

My youngest grandson, Mac, doesn't have the penchant for craft-making that his older brother does. Bubby's attention span can handle a craft that has, say, six or eight steps, knowing there's a grand payoff at the end. Mac, on the other hand — because he's younger and always on the go, go, go — can handle a craft with one quarter that number of steps, and instant payoff of some sort is key.

Needless to say (but I'll say it anyway), finding a craft that pleases both can be a challenge. This one, though — a tie-dye project of sorts — was a success. Mac created one or two and was done; Bubby made one after another until the food coloring bottles were nearly empty. Yes, success!

tie-dye-for-tots.JPG

What you need:

• Coffee filters

• Food coloring

• Clothes pins (or large metal binder clips or large paper clips)

• Paper plates or newspaper — or both — for protecting the crafting surface

craft-supplies

What you do:

This craft can be done indoors, but I chose to do it outside to take advantage of the desert weather. Warning: Don't do this outside if there's even the slightest breeze.

crafts-for-boys

Flatten out a few coffee filters per child. Then fold in half and half again and half again, to create a long triangle or sorts. For each child, attach a clothespin to a folded coffee filter, to not only hold the coffee filter closed, but to create a handle for the child to hold the filter without ending up with technicolor hands.

childs-hands

Holding the filter over the paper plate or covered surface, have child carefully squeeze drips of color onto the filter, covering both sides of filter as desired.

kid-craft

Once the child has added all the color he'd like, an adult (again, to prevent colored hands on the child, at least to some degree) should carefully remove the filter and open it up, placing it to dry on the paper plate while a new filter is added to the clothes pin and a new creation started.

child-craft

Allow the filters to dry completely, then display as desired. Bubby and Mac chose to hang all theirs on their family room window, which created a bit of a stained-glass effect they were quite proud of.

finished-artwork

A fast, cheap and easy craft for kiddos with short or long attention spans — and for grandmas and others who claim they're not crafty (you know who you are!).

coffee-filter-craft

Today's question:

What did you most recently use food coloring for?

How to make a pillow chaise for children

Every once in a great while, I surprise myself and do something that exceeds my expectations. Most recently, it was the making of the pillow chaise lounging thingees I gave my grandsons for Christmas. They turned out far better than I expected, and were received with far more appreciation than I thought might be the case, especially considering they weren't toys—which, as I learned here, are far preferable to practical presents.

What? You missed my post about giving Bubby and Mac their pillow chaises? Well take a look at their joy and ability to play slug in front of the television, thanks to a soft and comfy gift from Gramma.

At the time I posted that, many readers wondered about how to make them. So here I offer a gift to you: Directions on how to make the super simple pillow chaises.

I first saw this on Pinterest, but in all honesty I never looked at the directions and now I can't find the original pin. So what follows is my made-up method of providing rest and relaxation for little ones (or big ones, if you're so motivated).

The chaises are nothing more than four or more pillows sewn together. You can sew the ends closed, but I chose to use Velcro at the openings to allow pillows to be removed and covering laundered.

What you need (for one chaise):

• Four or more pillow cases — As my grandsons are only a few feet tall, four were enough; use an additional pillow case for each foot of your intended recipient's height over three feet.

• Four or more pillows — Same rule as above regarding the number to use.

• Velcro — Plan on 16 inches per pillow, enough to provide a closure for each pillow case.

What you do:

1. Using two of the four or more pillow cases, sew one to another along the long sides, with right side out and the openings on the same end. Create a half-inch seam allowance and use a tight stitch for strength. The seam will be showing on the outside; do not turn the pillow cases inside out. (Depending on your sewing ability and frustration level, you can pin the cases together before sewing.)

2. Using a third pillow case, sew it to one of the two that are already connected, ensuring openings are on the same end and seam will show on the same side as the first seam.

3. Do the same with the fourth and all additional pillow cases, always ensuring openings are on same end and seems will show on the same side.

4. Cut Velcro—both the hook and the fuzzy side—to fit inside the opening of each pillow case. Sew the hook side to one edge of the inside opening of each case, about half an inch from case edge. Then sew the fuzzy sides to the opposite side of each case opening, ensuring they match up with hooked Velcro beforehand. Again, you can pin first, if desired.

5. Insert a pillow in each case, then Velcro shut.

6. That's it! A simple pillow chaise for a child!

A couple notes:

• There's no need to use expensive pillows; I purchased the ones that are $2.50 each at Walmart. Using the $5 twin packs of pillow cases from Walmart, this made for a $20 price tag for each chaise of four pillows (not counting Velcro).

• The chaises can be used in a couple different positions, depending on how you prop the end pillow(s). One reader asked what kind of frame supports the pillows and the answer is that there is no frame—nothing but pillows, laying flat or propped up in various ways.

• As a child grows, you can easily add additional pillow cases and pillows to allow for the child's increased length.

• If you plan to mail the chaise to a faraway grandchild, your best bet is to mail the empty (but sewn together) pillow cases along with a gift card for purchasing the pillows. Otherwise, it's a rather expensive gift since even though the chaises are light, they're bulky and cost a crazy amount to ship. Trust me, for I learned this the hard (and expensive) way.

Of course, the chaises are soft and comfy and perfect for watching television, reading, or napping. That's not all, though. My genius grandsons quickly figured out they make great fort walls, as well.

Today's question:

What is your favorite position for watching television—sitting up, reclining, or a full-out sprawl on the floor?