Q-tips® Darts Knock Down

Q-tips® Darts Knock Down

Have some bored kids on your hands?

Need a quick way to entertain them using materials you have on hand?

Are the kids about seven years old or older?

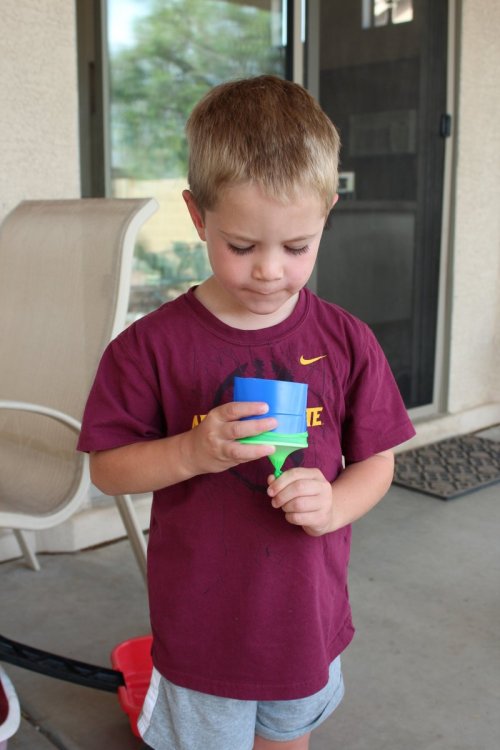
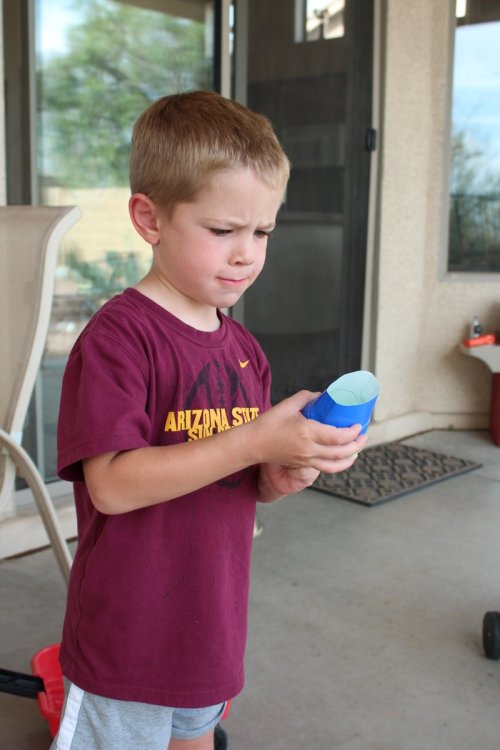
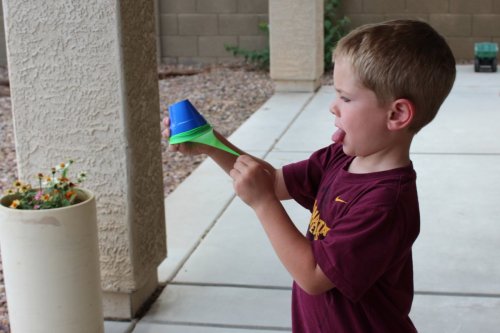
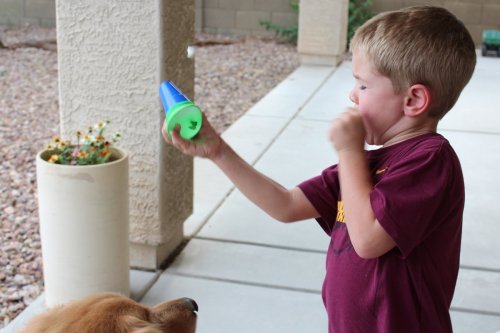
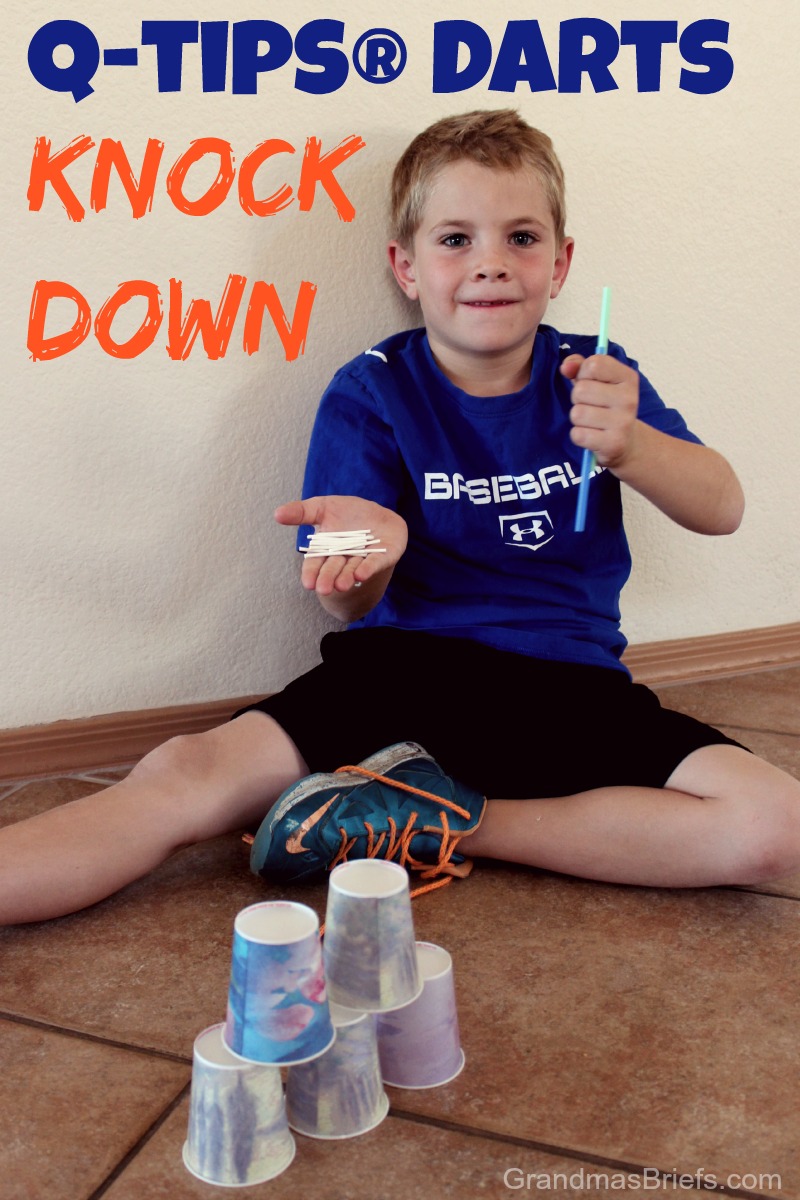
If you answered yes, yes, and yes, this is exactly what you were looking for: Q-tips® Darts Knock Down. It's simple carnival-style fun for everyone. Well, at least those old enough to not inhale the Q-tips® darts while blowing them through a straw.

Q-tips® darts knock down game

What you need...

Read More

4 spring walks to take with grandkids

4 spring walks to take with grandkids

Put on your walking shoes and head out with the grandkiddos. Here, four ideas for savoring spring while out and about.

spring walks

ONE
Oooh, baby, baby

There's no shortage of babies in my neighborhood this time...

Read More

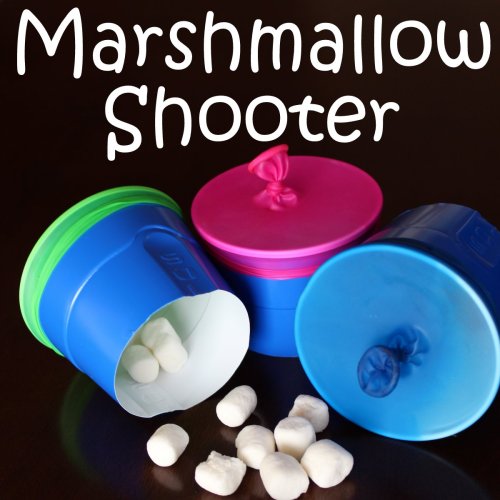
How to make a marshmallow shooter

Marshmallows and kids go together. Marshmallows and kids and homemade shooters for flinging the marshmallows soaring off into the stratosphere go together even better.

Here's how to make your very own marshmallow shooter to share — or not share — with the kids:

marshmallow shooter

What you need:

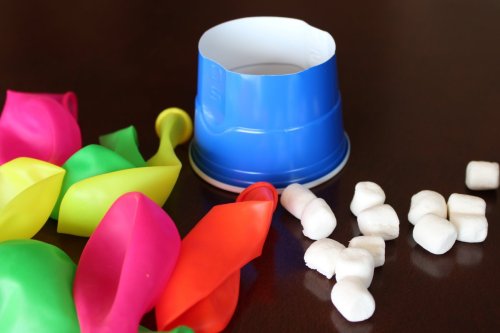
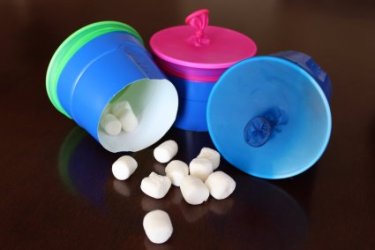
• Disposable party cup, one per shooter, with the bottom third carefully cut off by an adult

• Balloons, one per shooter plus a few spares, just in case

• Mini marshmallows (Regular size might work, too, but I can't vouch for that)

marshmallow shooter supplies

What you do:

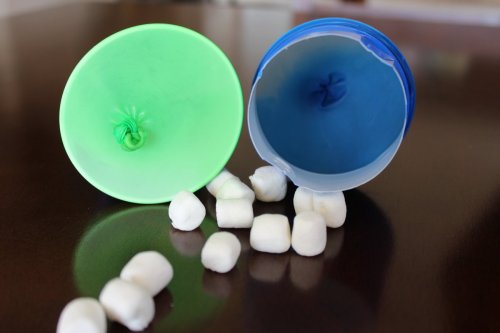
Carefully cut off about 1/8-inch from the rounded end of a balloon. Stretch that cut end of the balloon over the rim off the party cup (not the cut-off end), covering the entire opening of the cup and stretching to allow about 1/2-inch of the balloon to extend up the side of the cup, all the way around.

Roll up the cut edge of the balloon ever so slightly all the way around the cup, to ensure the lip of the cup will grab any edges that threaten to slip off, keeping the balloon secure in place. Then tie the opening of the balloon just as you typically would with an inflated balloon.

Your cup/shooter should look like this:

marshmallow shooters

From there, the fun begins:

First, load the shooter with one marshmallow.

marshmallow shooter

Ensure the marshmallow is centered over the tie...

marshmallow shooter

Then pull back the tied end slightly for the marshmallow to fall into the indention.

marshmallow shooter

Aim your shooter in the direction you want the marshmallow to fly.

aiming marshmallow shooter

Then pull back even farther on the balloon, making sure your hands are closer to the rim than to the cut edge of the cup (because it's sturdier on the rim end and won't crush the cup). Also be sure to r e a l l y concentrate...

marshmallow shooter aim

Then let go and watch her fly!

shooting marshmallow shooter

Or not fly... at least not at first.

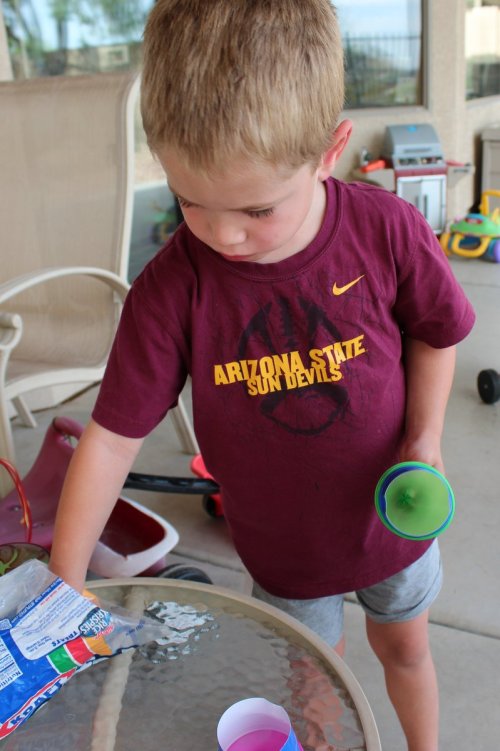
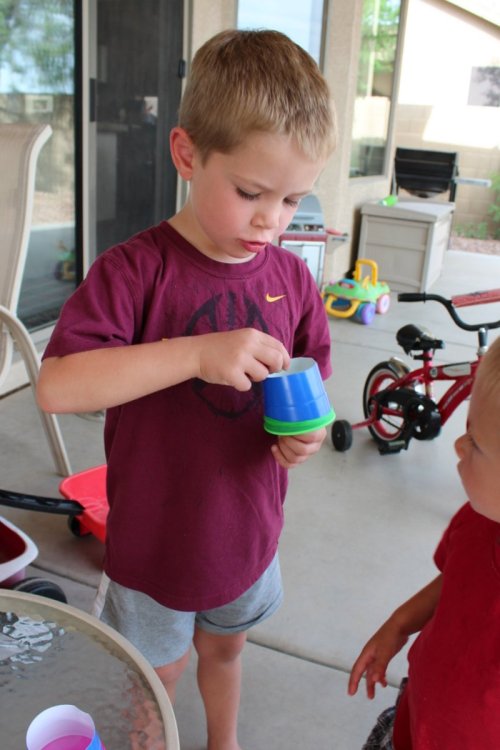
With a little practice, aiming and shooting the marshmallow long distances comes easily. Bubby and I were eventually skilled enough at it to compete with one another to see who could shoot the marshmallow all the way across the yard and over the fence (into the wash, not the neighbor's yard).

We tried shooting Cheerios and tiny craft pom-poms, too. We did the pom-poms indoors so as to not litter. The pom-poms didn't work so well. The Cheerios, though, were a smashing success — especially when we tried them indoors and they burst into pieces upon hitting the vaulted ceiling. (Don't tell Megan.)

Roxy, the family dog, had a great time gobbling up all the marshmallows and Cheerios, both inside and out. And call me a bad grandma if you must, but Mac nabbed a fair share of the misfires, as well, picking them up and popping them into his mouth as quickly as we could fire them off. Hey, it kept him busy while his big brother — and his grandma — got the hang of shooting the marshmallows and more over the fence and out of the park.
marshmallow shooter trio

Today's question:

When did you last blow up a balloon? Or eat a marshmallow?

(adsbygoogle = window.adsbygoogle || []).push({});

Ivory Soap + microwave + kids = unexpected fun

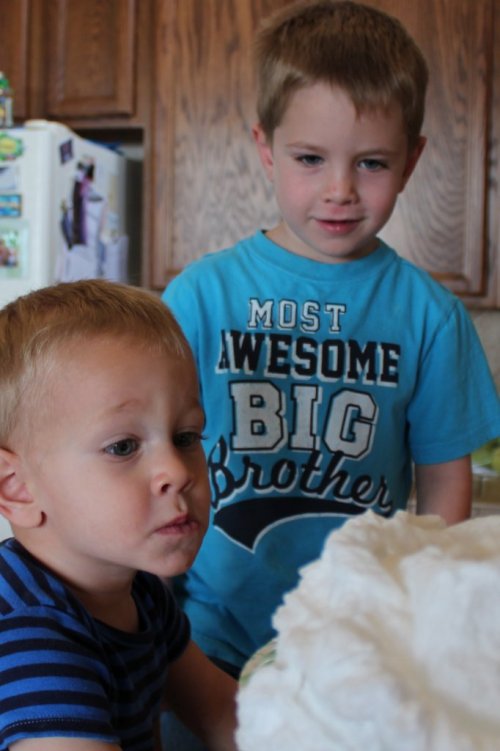
More than six months ago, I pinned this interesting pin on Pinterest, figuring I'd one day try it with my grandsons—crafting with Ivory soap that had been heated in the microwave. It may sound odd, but it looked like good, clean (plus cheap and easy) fun.

I decided we'd finally give it a shot during my recent stay with Bubby and Mac, so I packed several bars of Ivory Soap for the trip. I was right about it being good, cheap, easy fun. The clean? Well, surprising as it may seem, this was one of the messier projects I'd done with the boys. More on that later, though, after you see how much fun we had, regardless of the mess.

What you need:

• One bar of Ivory Soap

• A microwave

• A smidgen of water

• Cookie cutters (optional)

What you do:

Unwrap the bar of soap and place on as large a microwavable platter or paper plate as will fit in your microwave.

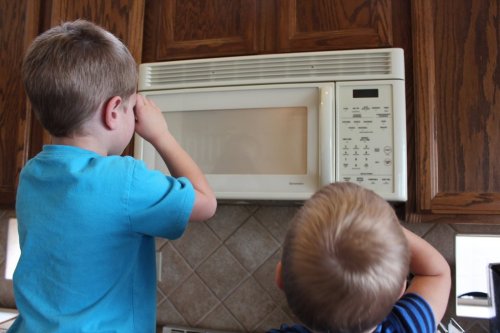
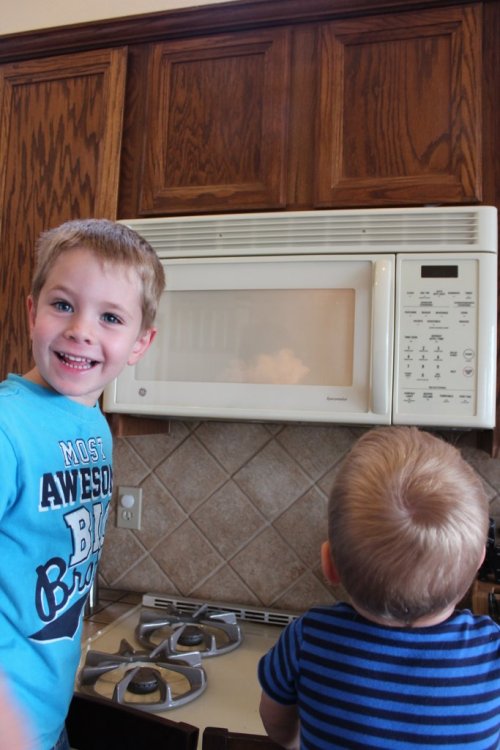
Put the plate with soap in the microwave, turn the timer to about 5 minutes (knowing you'll likely stop it before time's up), hit Start, then watch the magic!

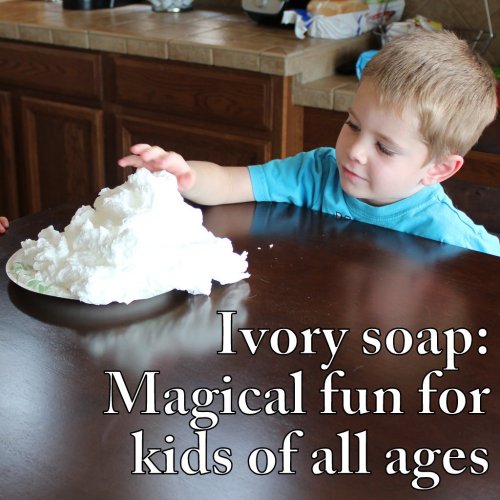
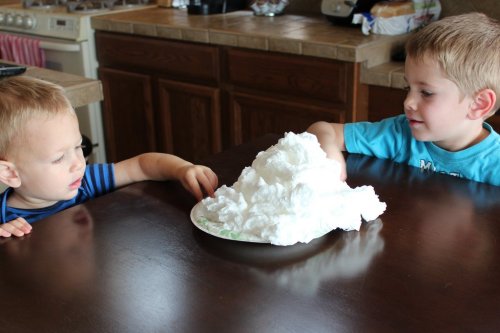
The bar of soap will expand and puff up into a nearly basketball-sized chunk of fun. As it gets bigger and bigger, stop the microwave as the soap becomes large enough to soon touch the walls or top of the microwave interior. (This is about 3-5 minutes, depending on your microwave.)

Using hot pads, remove the soap from the microwave. It will be hot but cools quickly.

Allow the kids to marvel at it.

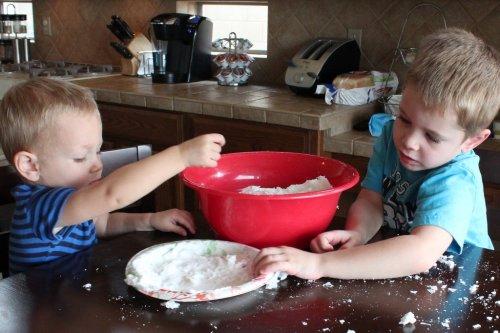
Once the soap has cooled completely (beware the center as unpuffed remains of the bar of soap will be hot), have the kids tear it into pieces and place in a large bowl.

Add a small amount of water—about 1/8 cup, a little at a time—then mix and mix and mix with a wooden spoon until the chunks are relatively smooth and about the consistency of Play-Doh.

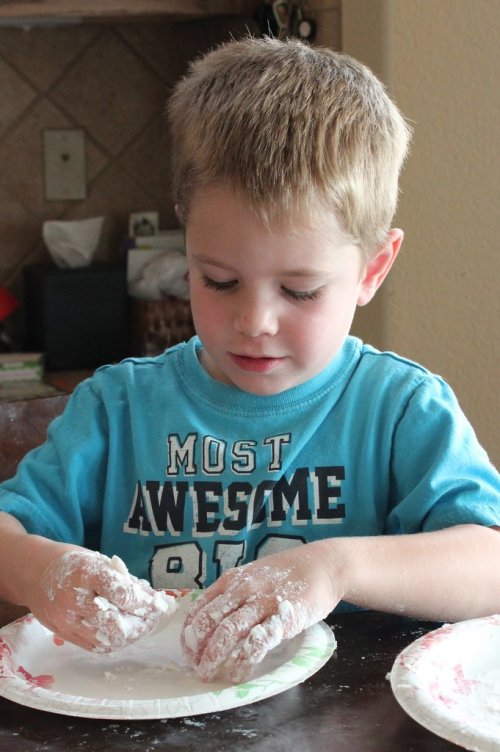
Divide the mixture between the kids (I put it on paper plates in hopes of containing the mess). Let them have at it, enjoying the texture and shaping as desired.

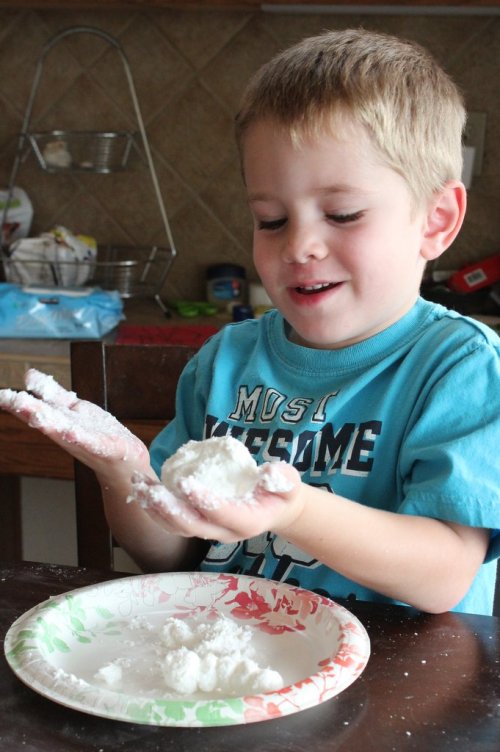
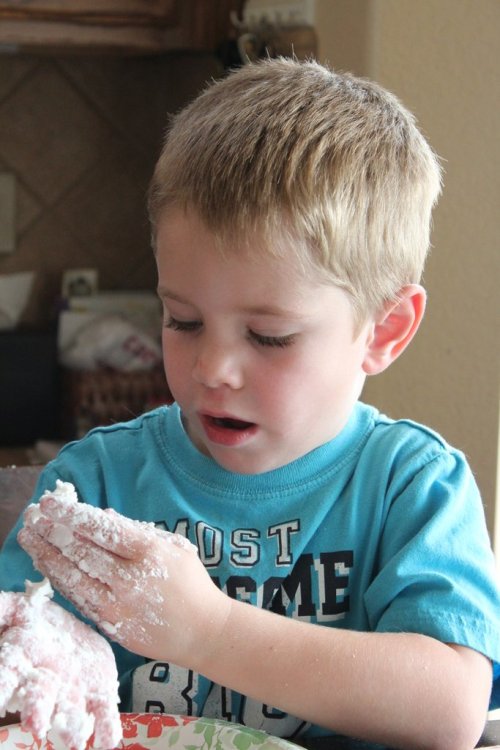
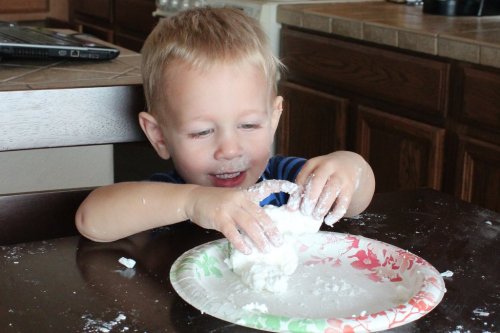
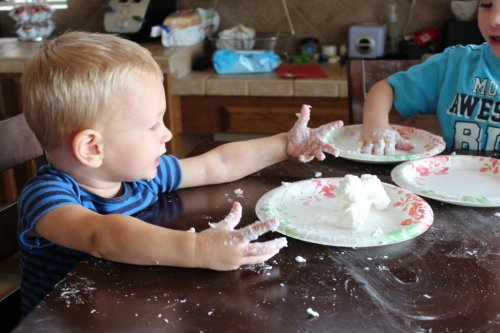
Bubby loved the soapy surprise:

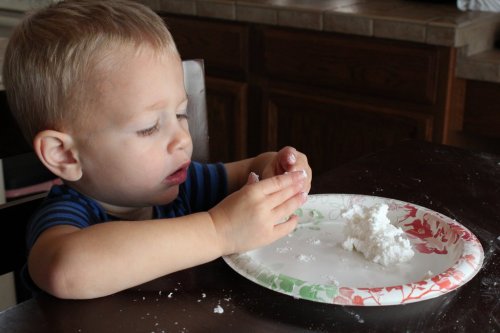
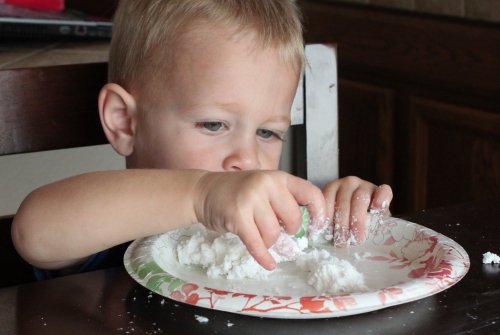
Mac loved it, too (though I did have to make sure he didn't taste it):

Pressing the mixture into cookie cutters is an option, too, one we opted for the second time we did this, when we just had to show Mommy and Daddy how cool it was.

Whether made free form or pressed into cookie cutters, let the shapes dry and harden for about a day. Once hard and dry, they provide another round of fun at bath time.

As I mentioned at the outset, you may think this would be a clean project, considering it's just soap. It is...until you start breaking the chunk of soap apart and it flakes and creates white soap specks everywhere.

The first time I did this with my grandsons, it was a pretty big mess. Washing up the soap flakes turned them into lathery streaks that took several washings. Plus, spots the boys touched were marked with hard chunks of soap—chair backs, their clothes, even Mac's ear that he had scratched mid-molding.

The second time we did this, though, I was more determined to contain the flakes and powder from the soap. It made for a cheap, easy, relatively clean, and unexpectedly good time.

This post linked to Grandparents Say It Saturday.

Today's question:

What did you most recently use your microwave for?